Jam-Filled Thumbprint Cookies Recipe
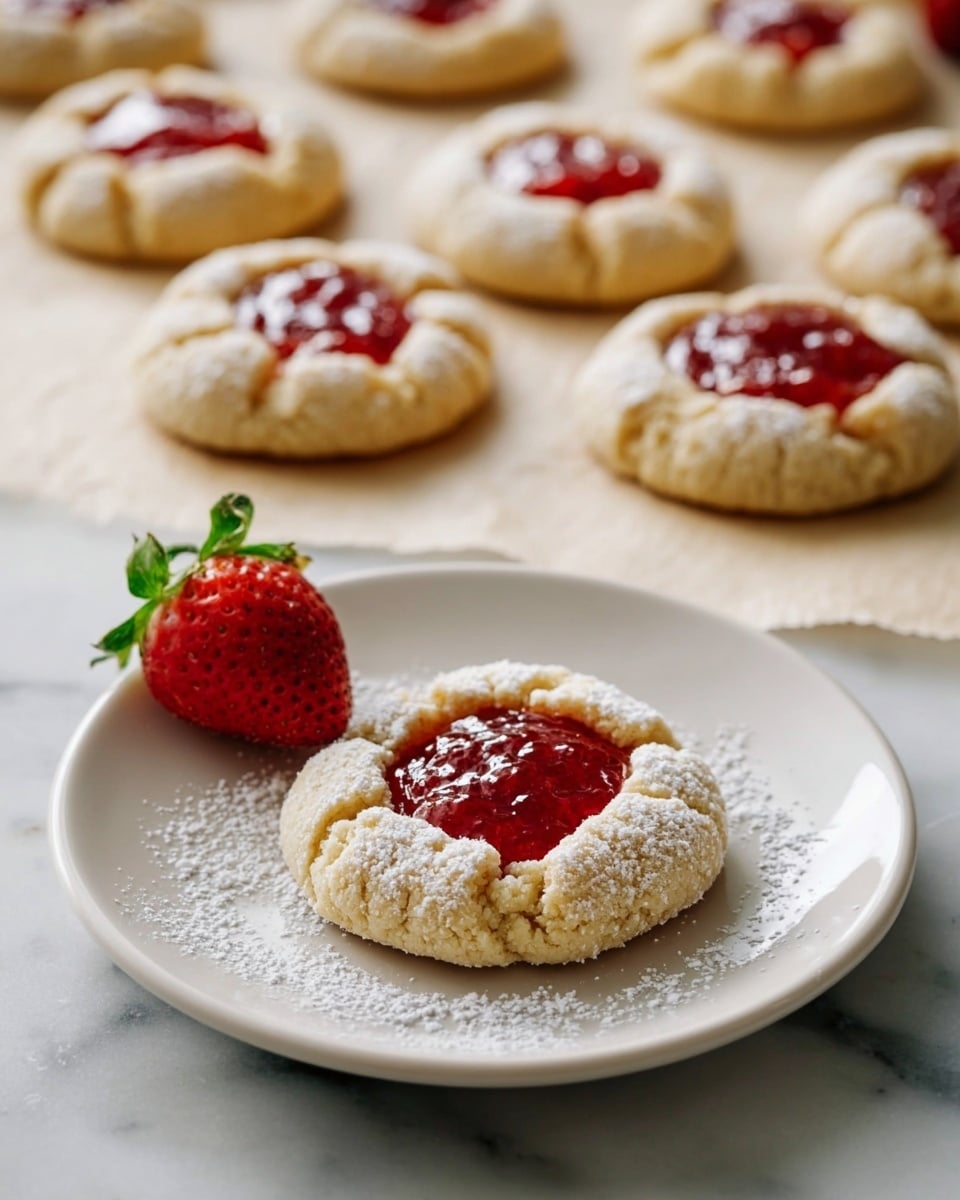
Picture this: the warm, buttery aroma of freshly baked cookies filling your kitchen, a hint of sweet strawberry jam teasing your senses, and the soft, tender bite of each delightful thumbprint cookie melting in your mouth. These Jam-Filled Thumbprint Cookies are more than just treats; they’re little bites of nostalgia that bring everyone around the table for just one (or ten) more. Perfect for sharing, gifting, or simply savoring with a cup of tea, these cookies are simplicity and joy baked into a classic bite-sized wonder.
Why You’ll Love This Jam-Filled Thumbprint Cookies Recipe
- Quick and Easy: Ready in just about 30 minutes, so you can satisfy those cookie cravings without a long wait.
- Simple Ingredients: Uses pantry staples like butter, sugar, flour, and jam, making it an accessible recipe for any home baker.
- Perfect for All Occasions: Whether it’s Valentine’s Day, a festive cookie tray, or an everyday treat, these cookies shine bright.
- Impressive Presentation: The charming thumbprint filled with vibrant jam makes each cookie a little edible gift.
- Customizable: Swap in your favorite jam flavor or add a sprinkle of powdered sugar for your personal touch.
Why This Jam-Filled Thumbprint Cookies Recipe Works
This recipe shines because of a few secret strengths: first, the butter and sugar are creamed until light and fluffy, which creates a tender, melt-in-your-mouth texture that is simply irresistible. Adding just the egg yolk (and not the whole egg) enriches the dough, keeping the cookies delicate yet sturdy enough to hold their shape. The magic thumbprint indentation perfectly cradles the jam, preventing it from spilling and maintaining a gorgeous, jewel-like presentation. Plus, baking at 350°F ensures the edges turn just golden without drying out the soft center, striking the perfect balance every single time.
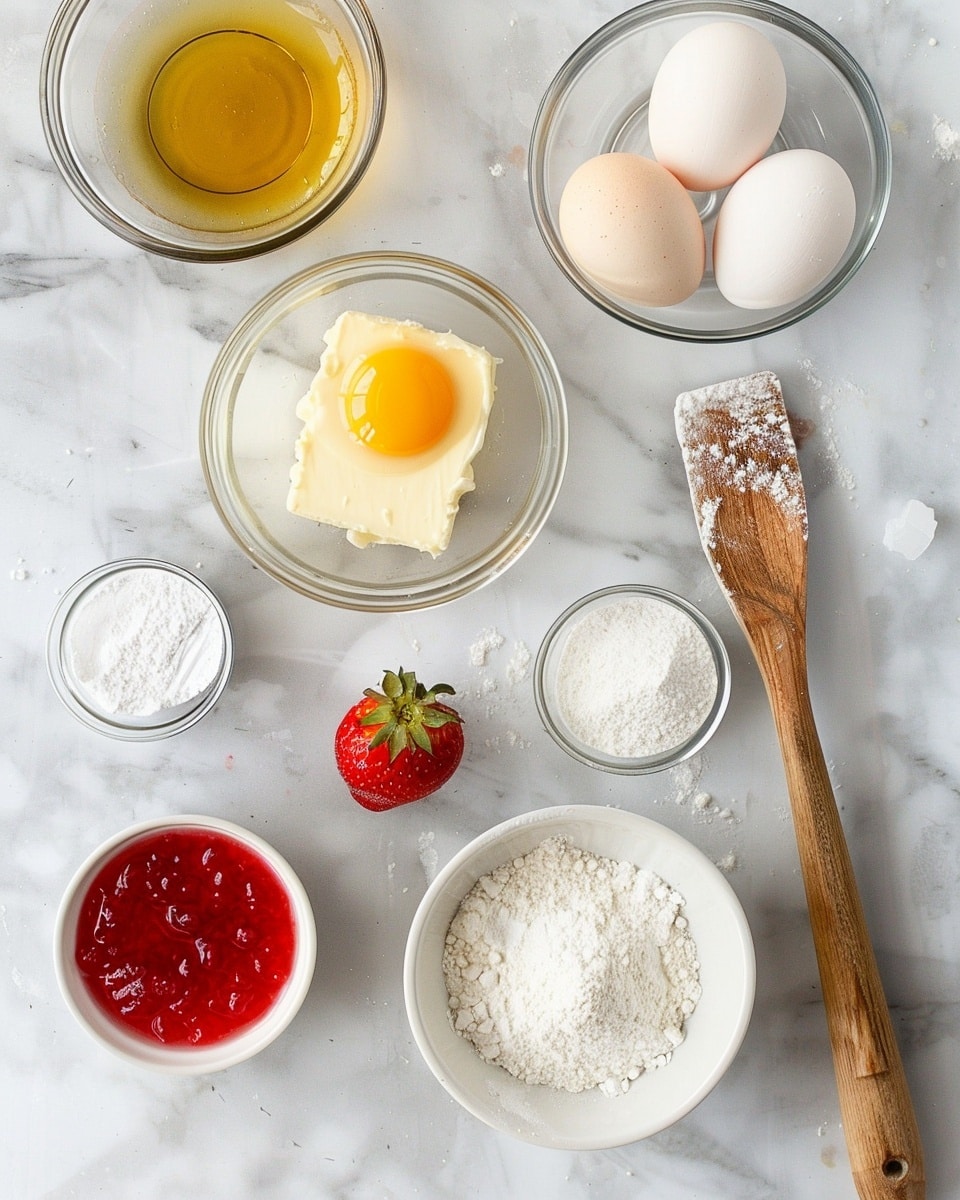
Ingredients You’ll Need
This Jam-Filled Thumbprint Cookies Recipe calls for simple, classic ingredients you likely have on hand—but each one plays a crucial role in crafting that perfect bite.
- Unsalted Butter (1 cup): Provides rich flavor and tender crumb, softened for easy mixing.
- Granulated Sugar (⅔ cup): Sweetens and adds a slight crunch to the cookie.
- Large Egg Yolk (1): Adds richness without making the dough too wet.
- Vanilla Extract (1 tsp): Enhances flavor depth with warm, sweet notes.
- All-Purpose Flour (2 cups): The base that gives structure to the cookies.
- Salt (¼ tsp): Balances sweetness and elevates all the flavors.
- Strawberry or Raspberry Jam (½ cup): The jammy heart that adds fruity sweetness and visual appeal.
Ingredient Substitutions & Tips
- Unsalted Butter: You can use salted butter but reduce added salt slightly to keep balance.
- Granulated Sugar: Substitute with superfine sugar for even lighter texture or coconut sugar for a subtle caramel note.
- Vanilla Extract: Almond extract offers a delightful twist if you want a different but complementary aroma.
- Jam: Try apricot, blueberry, or mixed berry jams for a fresh spin on the classic.
👨🍳 Pro Tips for Perfect Results
- Use room temperature butter: It creams better with sugar, making the dough fluffy and light.
- Don’t over-mix after adding flour: Mix just until combined to keep cookies tender.
- Press the thumbprint gently but firmly: This ensures a deep enough well for plenty of jam without breaking the cookie.
- Chill the dough if too soft: This makes rolling easier and helps cookies hold their shape.
- Let cookies cool completely: Jam sets as cookies cool, preventing it from running off.
How to Make Jam-Filled Thumbprint Cookies Recipe
Step 1: Preheat and Prepare Baking Sheets
Start by heating your oven to 350°F (175°C) and line baking sheets with parchment paper or a silicone mat. This prevents sticking and helps cookies bake evenly with perfect bottoms.
💡 Pro Tip: Using parchment paper makes cleanup a breeze and ensures your cookies slide off effortlessly every time.
Step 2: Cream Butter and Sugar
In a large bowl, beat the softened butter and granulated sugar together until the mixture looks light, airy, and fluffy. This step creates the tender texture that makes these cookies so irresistible.
💡 Pro Tip: Don’t rush this—take 3-5 minutes to get that perfect creamy texture.
Step 3: Add Egg Yolk and Vanilla
Mix in the single egg yolk and vanilla extract until fully combined. The yolk enriches the dough’s flavor while keeping it from becoming too wet, giving just the right consistency for rolling.
💡 Pro Tip: Make sure the egg yolk is at room temperature to blend smoothly without curdling.
Step 4: Add Dry Ingredients
Gradually fold in the all-purpose flour and salt. Stir only until a smooth dough forms. Over-mixing here can make cookies tough instead of tender.
💡 Pro Tip: Use a spatula or wooden spoon for gentle folding instead of a mixer for best texture.
Step 5: Shape Cookies and Make Thumbprints
Roll tablespoon-sized dough balls and place them on your prepared sheets. Press your thumb or the back of a wooden spoon gently into each ball to create a small well for the jam.
💡 Pro Tip: If the dough sticks to your fingers, lightly flour them or dip in flour before pressing.
Step 6: Fill with Jam
Spoon about half a teaspoon of your chosen jam into each thumbprint indentation. Be generous but avoid overfilling to prevent spillage during baking.
💡 Pro Tip: A small offset spatula or the back of a teaspoon works perfectly for neat filling.
Step 7: Bake to Perfection
Slide the trays into your preheated oven and bake the cookies for 12 to 14 minutes, until their edges turn a delicate, inviting golden shade.
💡 Pro Tip: Keep an eye near the end so the jam doesn’t bubble over or the cookies don’t brown too much.
Step 8: Cool and Enjoy
Let the cookies rest on the baking sheet for a few minutes before transferring them to a wire rack to cool completely. This helps the jam set beautifully for that perfect bite.
💡 Pro Tip: Cooling fully enhances the cookie texture and flavors — patience is a virtue here!
Common Mistakes to Avoid
Learn from these common pitfalls:
- Not softening the butter enough: This can cause the dough to be uneven and the cookies dense.
- Overmixing the dough after adding flour: Leads to tough, chewy cookies instead of tender ones.
- Pressing too hard or too shallow on the thumbprint: Too hard can break the cookie; too shallow means jam spills out.
- Overfilling jam wells: Jam can bubble over and create a mess on the baking sheet.
- Baking at too high a temperature: Can burn edges before the centers set properly.
- Not allowing cookies to cool fully: Causes jam to slide off or cookies to break when moved.
Delicious Variations to Try
Once you’ve mastered the classic Jam-Filled Thumbprint Cookies Recipe, why not experiment to suit your mood or occasion?
Lemon Curd Delight
Swap the berry jam for tangy lemon curd to bring a refreshing citrus burst to your thumbprint cookies. It adds a bright, zesty contrast to the buttery dough.
Apricot Almond
Fill each thumbprint with apricot jam and sprinkle slivered almonds on top before baking for a delightful crunchy finish and nutty depth.
Chocolate Hazelnut
Use a spoonful of chocolate hazelnut spread instead of jam. Warm the spread slightly for easier filling—the rich flavor is irresistible.
Mixed Berry Medley
Combine different jams or jams with whole berries to create a colorful, fruity centerpiece that’s as beautiful as it is tasty.
Vanilla Chai Infusion
Add a teaspoon of chai spice mix (cinnamon, cardamom, ginger) to the dough for a cozy twist perfect for chilly days.
How to Serve Jam-Filled Thumbprint Cookies Recipe
Garnishes
Dust the cooled cookies with powdered sugar for a snowy finish or drizzle with a simple glaze for a glossy sheen. Fresh mint leaves on the side add a pop of green and aroma.
Side Dishes
Pair these cookies with a steaming cup of chai tea, black coffee, or a cold glass of milk to balance the sweetness.
Creative Ways to Present
Arrange in festive tins or wrap in cellophane with a ribbon for charming gifts. Place on a tiered dessert stand to impress guests at your next gathering.
Make Ahead and Storage
Storing Leftovers
Keep cooled cookies in an airtight container at room temperature for up to 4 days. Layer with parchment paper to avoid sticking.
Freezing
You can freeze baked cookies for up to 3 months. Place them in a single layer on a tray to freeze first, then transfer to a zip-top bag or container to maintain shape and freshness.
Reheating
Warm cookies gently in a low oven (300°F) for 5-7 minutes or microwave briefly to revive that just-baked softness, especially if frozen.
FAQs
Can I use whole eggs instead of just the yolk?
Using the whole egg will make the dough wetter and possibly tougher. Sticking to just the yolk ensures tender, crumbly cookies.
What’s the best way to prevent jam from spilling over?
Press your thumbprint deep enough and avoid overfilling—about half a teaspoon of jam per cookie works perfectly.
Can I substitute the jam for something else?
Yes! Nut butters or chocolate spreads can work as alternatives, just adjust quantity and monitor baking closely.
How do I store these cookies to keep them fresh?
Store in an airtight container at room temperature for up to 4 days or freeze for longer storage.
Are these cookies gluten-free?
The classic recipe uses all-purpose flour. For gluten-free, try a 1-to-1 gluten-free baking flour blend and test for texture adjustments.
Can I make the dough ahead of time?
Yes, you can refrigerate the dough for up to 24 hours before shaping and baking.
What if I don’t have vanilla extract?
You can omit it or substitute with an equal amount of almond extract for a different, pleasant flavor.
Will the cookies hold their shape if I use a different flour?
Using different flours like whole wheat or gluten-free may alter texture and spread; you might need to adjust flour amounts accordingly.
Final Thoughts
There’s something truly magical about making Jam-Filled Thumbprint Cookies Recipe with your own hands—a recipe that’s easy to love and impossible not to share. The tender, buttery dough combined with the jewel-like jam center is a nostalgic hug in cookie form. Whether you’re baking for loved ones or treating yourself, these cookies never fail to bring warmth and smiles to the table.
Have you tried this Jam-Filled Thumbprint Cookies Recipe? I’d love to hear how it turned out! Leave a comment below. If you loved this recipe, please share it with friends and family. Happy cooking! 🍪
PrintJam-Filled Thumbprint Cookies Recipe

These classic Jam-Filled Thumbprint Cookies are tender, buttery, and feature a delightful sweet jam center. Their heart-like indent makes them a charming treat for Valentine’s Day or any festive occasion. Easy to prepare and perfect for cookie trays or edible gifts, these cookies are a timeless favorite loved by all ages.
- Prep Time: 15 minutes
- Cook Time: 12-14 minutes
- Total Time: 27-29 minutes
- Yield: 24 cookies 1x
- Category: Dessert
- Method: Baking
- Cuisine: American
- Diet: Vegetarian
Ingredients
Cookie Dough
- 1 cup unsalted butter, softened
- ⅔ cup granulated sugar
- 1 large egg yolk
- 1 tsp vanilla extract
- 2 cups all-purpose flour
- ¼ tsp salt
Filling
- ½ cup strawberry or raspberry jam
Instructions
- Preheat Oven and Prepare Baking Sheets: Preheat your oven to 350°F (175°C). Line baking sheets with parchment paper or silicone baking mats to prevent sticking and ensure even baking.
- Cream Butter and Sugar: In a large mixing bowl, beat the softened unsalted butter with the granulated sugar until the mixture is light and fluffy. This usually takes about 3 to 5 minutes using an electric mixer on medium speed.
- Add Egg Yolk and Vanilla: Incorporate the large egg yolk and vanilla extract into the creamed butter and sugar mixture. Mix well until fully combined to ensure flavor is evenly distributed.
- Mix in Dry Ingredients: Gradually add the all-purpose flour and salt to the wet ingredients. Mix on low speed or use a wooden spoon to combine the dough until it forms a smooth, cohesive ball.
- Form Balls and Make Thumbprints: Roll the dough into 1-inch balls and place them on the prepared baking sheets about 2 inches apart. Use your thumb or the back of a small spoon to press an indentation into the center of each cookie ball, creating a small well.
- Fill with Jam: Spoon about ½ teaspoon of strawberry or raspberry jam into each thumbprint indentation carefully, making sure not to overfill to prevent spilling during baking.
- Bake Cookies: Bake the cookies in the preheated oven for 12 to 14 minutes, or until the edges are lightly golden and the cookie centers are set.
- Cool Before Serving: Remove the baking sheets from the oven and allow the cookies to cool on the sheets for 5 minutes before transferring them to a wire rack to cool completely. This helps the cookies firm up and prevents breakage.
Notes
- You can substitute the jam with any favorite flavor such as apricot, blueberry, or cherry.
- For an extra festive look, sprinkle powdered sugar over the cooled cookies before serving.
- Ensure the butter is softened to room temperature for easier creaming and better dough texture.
- Store cookies in an airtight container at room temperature for up to one week.
Keywords: thumbprint cookies, jam cookies, buttery cookies, Valentine’s Day cookies, classic cookies, homemade cookies, dessert