No-Bake Easter Egg Cookies with Colorful Candy Coating and Sprinkles Recipe
Picture this: the sweet, buttery scent of brown sugar and vanilla swirling through your kitchen, while your hands shape soft, creamy dough into perfect little Easter eggs. Each one is lovingly dipped into vibrant pools of candy coating, sparkling with colorful sprinkles like confetti at a festive parade. This delightful ritual is not only incredibly fun but also a feast for the senses, blending creamy textures, sweet melodies, and cheerful colors. If you want an Easter treat that feels like a celebration and comes together with ease, you are in the perfect place.
Why You’ll Love This No-Bake Easter Egg Cookies with Colorful Candy Coating and Sprinkles Recipe
- Quick and Easy: Ready in about 3 hours with mostly hands-off chilling and simple prep, these cookies deliver impressive results without hours in the kitchen.
- Simple Ingredients: Uses pantry staples like flour, brown sugar, and condensed milk, plus fun candy melts that transform these into edible works of art.
- Perfect for Celebrations: Ideal for Easter parties, family gatherings, or gifting—they’re as delightful to look at as they are to eat.
- Impressive Presentation: Each cookie looks like a miniature Easter egg masterpiece, colorful and sparkly, guaranteed to bring smiles and oohs of admiration.
- Customizable: Swap chocolate chips, candy colors, or sprinkle styles to match your personal style or party theme effortlessly.
Why This No-Bake Easter Egg Cookies with Colorful Candy Coating and Sprinkles Recipe Works
This recipe genius lies in a few key elements. First, the heat-treated flour ensures safety without baking, giving you peace of mind while enjoying raw dough textures. The softened butter and brown sugar are carefully creamed until light and fluffy, building a tender and airy base for the dough. Sweetened condensed milk plays the starring role as the magic binder, lending delicious creaminess and sweetness that holds everything together perfectly. Finally, the candy melts provide that irresistibly glossy, colorful coating that dries firm but melts beautifully on your tongue, all topped generously with sprinkles for that final joyful crunch and pop of color. It’s a simple yet magical combination that makes these cookies unforgettable.

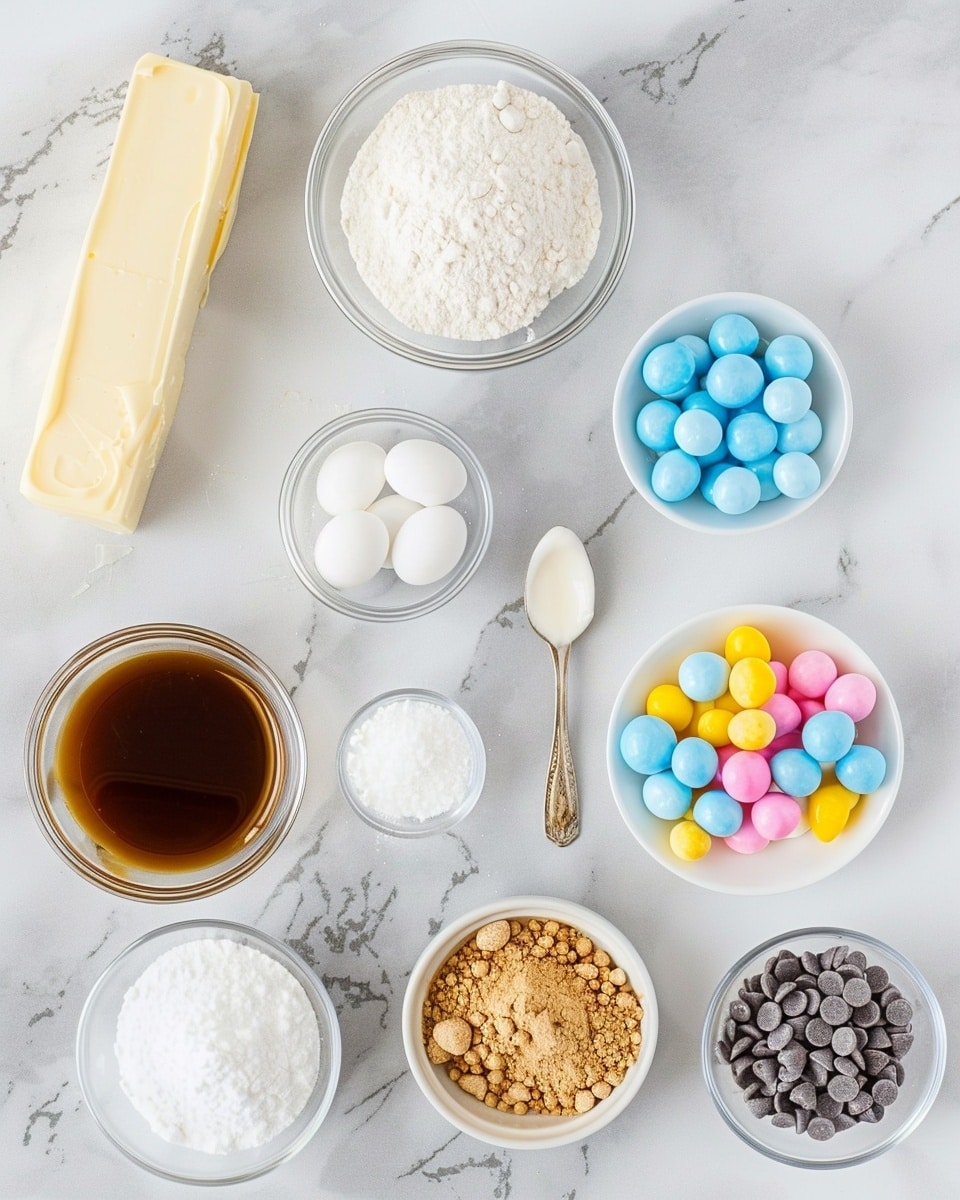
Ingredients You’ll Need
Gathering just a handful of lovely ingredients, this recipe invites you to create something spectacular with surprisingly straightforward components.
- Unsalted Butter (½ cup/1 stick): Softened to the perfect temper, it creates a smooth foundation and richness in the dough.
- Light Brown Sugar (¾ cup packed): Adds deep molasses flavor and chewy moisture to the mixture.
- Pure Vanilla Extract (1 teaspoon): Infuses warm, aromatic sweetness that sings through every bite.
- All-Purpose Flour (2 cups, heat-treated): Gives structure while keeping the cookie safe to eat without baking.
- Sweetened Condensed Milk (1 can, 14 oz): The creamy, sweet glue that binds everything into a luscious dough.
- Mini Chocolate Chips (½ cup): Perfectly sized for even distribution and little pops of chocolate happiness.
- Candy Melts (½ lb each of blue, yellow, pink, and white): Vibrant coatings that lend an artist’s palette of colors and glossy finish.
- Easter Sprinkles, Nonpareils or Sanding Sugar: Bright and cheerful textural toppings that make your cookies party-ready.
Ingredient Substitutions & Tips
- Unsalted Butter: Swap for plant-based butter or margarine to keep it dairy-free, ensuring softness remains.
- Light Brown Sugar: Use dark brown sugar for a richer, toffee-like twist on flavor.
- All-Purpose Flour: Replace with a 1:1 gluten-free flour blend and heat-treat similarly for a gluten-free adaptation.
- Mini Chocolate Chips: Substitute with white chocolate chips, butterscotch chips, or chopped toasted pecans for variation.
👨🍳 Pro Tips for Perfect Results
- Heat-Treat Flour Thoroughly: This is essential for safety since the dough won’t be baked. Let it cool completely before mixing to avoid sogginess.
- Don’t Skip Creaming Butter & Sugar Fully: Aerating this mixture lightens the dough for softer, more tender cookies.
- Chill Your Dough Well: The dough must be very firm before shaping and dipping so eggs hold their shape perfectly.
- Melt Candy Coating Gently: Use 50% microwave power, stirring constantly, and add coconut oil if needed for a smooth, dip-friendly texture.
- Work in Small Batches When Dipping: Keep undipped eggs chilled to maintain firmness, avoiding messy melty mishaps.
How to Make No-Bake Easter Egg Cookies with Colorful Candy Coating and Sprinkles Recipe
Step 1: Heat-Treat Your Flour
Place 2 cups of all-purpose flour in a large microwave-safe bowl. Microwave in 30-second bursts, whisking between each until it reaches approximately 160°F (71°C), about 2 minutes total. This step kills any bacteria, making the flour safe for no-bake dough. Spread the flour on a baking sheet to cool completely before using.
💡 Pro Tip: If you prefer, bake the flour at 350°F for 5-7 minutes and cool completely—it produces the same safe result.
Step 2: Cream the Butter & Brown Sugar
In a large bowl, beat softened butter and packed light brown sugar on medium-high speed for 2-3 minutes until light, fluffy, and pale in color. This aeration is key to a tender dough.
💡 Pro Tip: Don’t rush this step—fluffy is the goal, which will reflect in your cookie texture.
Step 3: Add the Vanilla
Mix in the teaspoon of pure vanilla extract just until combined. Breathe in that warm, comforting scent—it’s magic in a bottle!
Step 4: Combine Flour and Condensed Milk
On low speed, add half of the cooled, heat-treated flour and half of the sweetened condensed milk. Mix until mostly combined, then add the remaining flour and condensed milk. Mix just until a soft, smooth dough forms with no dry streaks.
💡 Pro Tip: If the dough feels too soft or sticky, pop it in the fridge for 20-30 minutes to firm up before shaping.
Step 5: Fold in Chocolate Chips and Shape Eggs
Using a spatula, gently fold in the mini chocolate chips. Then, scoop about 1½ to 2 tablespoons of dough, roll into balls, and carefully shape into oval Easter eggs. Place each on a parchment-lined baking sheet.
💡 Pro Tip: Using a tablespoon measure ensures more uniform eggs, but don’t stress—handmade charm shines through little imperfections.
Step 6: Chill the Dough
Refrigerate the shaped cookies for at least 2 hours or freeze for 1 hour until very firm. This firmness guarantees they hold shape during the candy coating phase.
💡 Pro Tip: Firm eggs dip more smoothly and resist cracking or sagging in the melted candy.
Step 7: Melt the Candy Coating
Place each color of candy melts in separate microwave-safe bowls. Heat in 30-second increments at 50% power, stirring well between bursts until silky smooth. If too thick, stir in a teaspoon of coconut oil to achieve perfect dipping consistency.
💡 Pro Tip: Constant stirring prevents seizing and keeps your candy melts glorious and glossy.
Step 8: Dip and Decorate
Working with a few eggs at a time, using a fork or dipping tool, submerge each egg completely into melted candy. Lift and gently tap the fork on the bowl’s edge to remove excess coating. Transfer onto parchment paper, drizzle with melted white candy using a spoon or squeeze bottle, and sprinkle immediately with Easter sprinkles. Let set at room temperature for 15-20 minutes until firm.
💡 Pro Tip: Keep undipped eggs chilled in the fridge as you work to ensure easy handling and smooth coats.
Common Mistakes to Avoid
Learn from these common pitfalls:
- Skipping Heat-Treatment: Using raw flour without heat-treating can risk food safety since dough is not baked.
- Not Creaming Butter and Sugar Long Enough: A rushed mix will leave the dough dense and cakey instead of tender and soft.
- Dipping Warm Dough Eggs: Not chilling eggs enough leads to melted, misshapen cookies after coating.
- Overheating Candy Melts: Melting at full power or too long causes them to seize and become grainy.
- Waiting Too Long to Decorate: Sprinkles need to be applied while candy is still wet to stick properly.
- Using Chocolate Chips for Dipping: They don’t melt smoothly or harden properly for dipping compared to candy melts.
Delicious Variations to Try
Once you’ve mastered this No-Bake Easter Egg Cookies with Colorful Candy Coating and Sprinkles Recipe, shake things up with these tasty twists:
Peanut Butter Easter Eggs
Fold in ¼ cup creamy peanut butter with the sweetened condensed milk for a luscious, nutty flavor that pairs beautifully with chocolate coating.
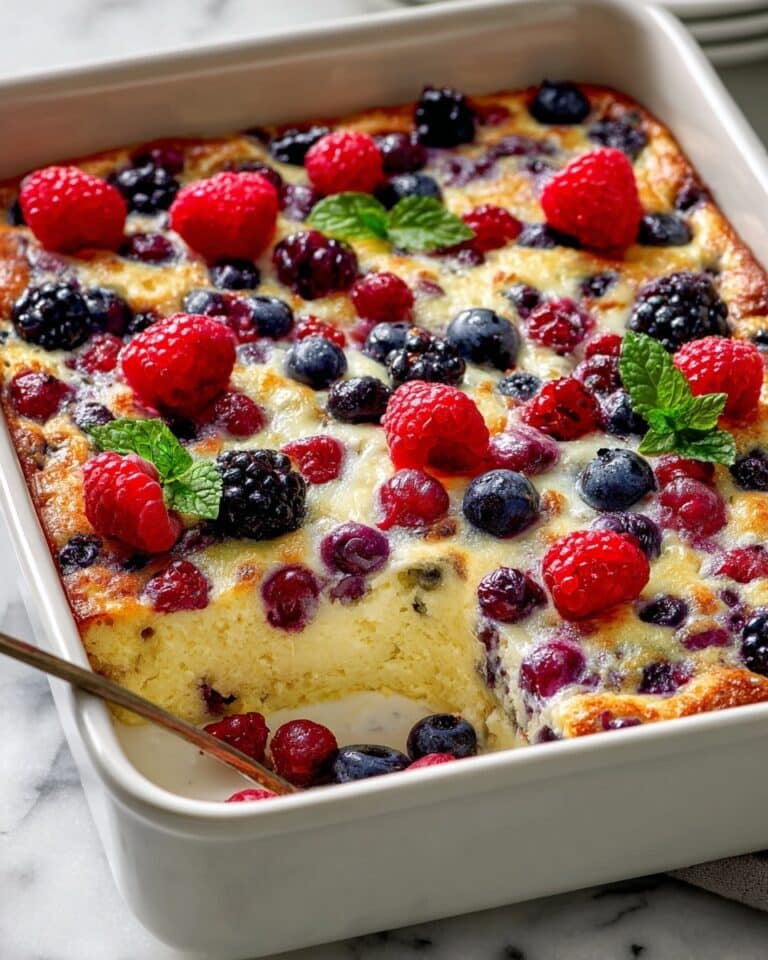
White Chocolate and Raspberry
Swap mini chocolate chips for freeze-dried raspberry bits and use white candy melts tinted with a touch of pink food coloring for a bright and fruity vibe.
Coconut & Lime Zest
Add ½ cup shredded coconut and a teaspoon of lime zest to the dough for a tropical burst that complements the colorful coating.
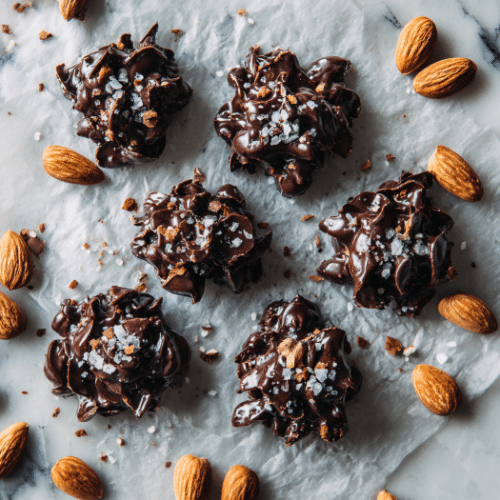
Almond Joy Style
Mix in chopped toasted almonds and mini coconut flakes into the dough; dip in milk chocolate candy melts and top with a whole almond.
Double Chocolate Delight
Use chocolate candy melts for dipping and fold in ¼ cup cocoa powder into the dough for intense chocolate flavor, finished with chocolate sprinkles.
How to Serve No-Bake Easter Egg Cookies with Colorful Candy Coating and Sprinkles Recipe
Garnishes
Fresh spring herbs like mint leaves or edible flowers bring a fresh contrast to the sweetness and add beautiful visual accents.
Side Dishes
Serve alongside a cup of fragrant green tea or a mild chai latte to balance the sweetness and enjoy a relaxing treat break.
Creative Ways to Present
Arrange the cookies on pastel-colored platters or nestle them in paper grass-filled baskets for an irresistible Easter centerpiece. Tie them individually in clear cellophane with colorful ribbons as charming edible gifts!
Make Ahead and Storage
Storing Leftovers
Store your No-Bake Easter Egg Cookies in an airtight container at room temperature for up to 3 days. Make sure the coating is fully set before stacking to prevent sticking.
Freezing
For longer storage, freeze baked eggs in a single layer on parchment-lined trays, then transfer to freezer bags. Thaw at room temperature before dipping or serving.
Reheating
These cookies are best enjoyed chilled or at room temperature. If desired, let frozen or chilled eggs sit out for 10-15 minutes to soften slightly before eating.
FAQs
Is it safe to eat the dough without baking?
Yes, as long as you heat-treat the flour properly to kill bacteria, this no-bake dough is completely safe to eat.
Can I use regular chocolate instead of candy melts for coating?
Candy melts are designed to melt smoothly and set firm without tempering, unlike regular chocolate, which can be tricky to work with for dipping.
What if I don’t have mini chocolate chips?
You can substitute with finely chopped chocolate chunks or other small mix-ins like toffee bits or nuts.
Can I make these vegan?
With plant-based butter and sweetened condensed coconut milk, plus dairy-free candy melts, you can make a vegan version of these cookies.
How long do these cookies last?
Stored properly, they last 3 days at room temperature, or up to 1 month frozen.
Can I add food coloring to the dough?
Yes! Adding gel food coloring to the dough before shaping creates fun pastel eggs inside as well as out.
Is there a way to avoid sprinkles?
Absolutely! Try drizzling colored candy melts in patterns or dusting with edible glitter instead for a different look.
Can I prepare everything ahead of time?
Yes, you can make the dough and shape eggs a day ahead, keeping them refrigerated until ready to dip and decorate.
Final Thoughts
There is something utterly joyous about creating these No-Bake Easter Egg Cookies with Colorful Candy Coating and Sprinkles Recipe. It’s more than just a treat—it’s a celebration of colors, textures, and shared moments. Whether prepping with kids, gifting to friends, or brightening your own holiday table, these cookies are guaranteed to bring smiles and sweet memories.
Have you tried this No-Bake Easter Egg Cookies with Colorful Candy Coating and Sprinkles Recipe? I’d love to hear how it turned out! Leave a comment below. If you loved this recipe, please share it with friends and family. Happy cooking! 🐣🌸
PrintNo-Bake Easter Egg Cookies with Colorful Candy Coating and Sprinkles Recipe

These no-bake Easter egg cookie dough treats combine a chewy, sweet dough with a colorful candy coating, perfect for a festive and safe-to-eat springtime dessert. Heat-treated flour ensures safety, while sweetened condensed milk binds the dough into creamy, sliceable eggs that are then dipped in vibrant candy melts and decorated with sprinkles for a fun, family-friendly Easter project.
- Prep Time: 25 minutes
- Cook Time: 0 minutes
- Total Time: 2 hours 25 minutes
- Yield: About 24 Easter egg cookies 1x
- Category: Dessert
- Method: No-Cook
- Cuisine: American
- Diet: Halal
Ingredients
Dough Ingredients
- ½ cup (1 stick) unsalted butter, softened
- ¾ cup packed light brown sugar
- 1 teaspoon pure vanilla extract
- 2 cups all-purpose flour (heat-treated)
- 1 can (14 oz) sweetened condensed milk
- ½ cup mini chocolate chips
Candy Coating & Decoration
- ½ lb each of blue, yellow, pink, and white candy melts or coating wafers
- Easter sprinkles, nonpareils, or sanding sugar for decoration
Instructions
- Heat-Treat Your Flour: Place 2 cups of flour in a microwave-safe bowl and microwave in 30-second increments, stirring after each, for about 2 minutes until the flour reaches 160°F (71°C). Spread on a baking sheet to cool completely. Alternatively, bake at 350°F for 5-7 minutes, then cool.
- Cream the Butter & Sugar: In a large bowl, beat softened butter and packed brown sugar on medium-high speed for 2-3 minutes until light and fluffy.
- Add the Vanilla: Mix in 1 teaspoon of vanilla extract until just combined.
- Bring the Dough Together: On low mixer speed, add half of the cooled flour and half the sweetened condensed milk, mix until mostly combined; then add remaining flour and condensed milk, mixing just until a soft dough forms with no dry streaks. Fold in mini chocolate chips with a spatula. Chill dough 20-30 minutes if too soft.
- Shape the Eggs: Line a baking sheet with parchment paper. Using a tablespoon or small scoop, portion 1½ to 2 tablespoons dough. Roll into balls, then shape into oval egg shapes. Place on parchment-lined sheet.
- Chill Out: Refrigerate shaped eggs for at least 2 hours or freeze for 1 hour until firm to touch.
- Melt the Candy Coating: In separate microwave-safe bowls, melt each color of candy melts at 50% power in 30-second bursts, stirring between, until smooth. Add 1 teaspoon coconut oil if needed to thin.
- Dip & Decorate: Working in small batches, dip chilled eggs into melted candy coating using a fork, tap off excess, place on parchment, drizzle with melted white candy, and sprinkle with decorations. Let set at room temperature for 15-20 minutes until firm.
Notes
- Heat-treat flour to ensure safety for no-bake recipes.
- Use good-quality softened butter for best creaming texture.
- Mini chocolate chips distribute evenly and preserve egg shape.
- Keep dough chilled to make shaping and dipping easier.
- Use candy melts specifically for dipping; chocolate chips require tempering.
- Work in small batches when dipping to keep eggs firm and cold.
- For a dairy-free version, substitute plant-based butter and check candy melts for dairy ingredients.
Keywords: Easter egg cookies, no-bake cookie dough, candy coated eggs, holiday treats, no-bake dessert, kid-friendly Easter recipe