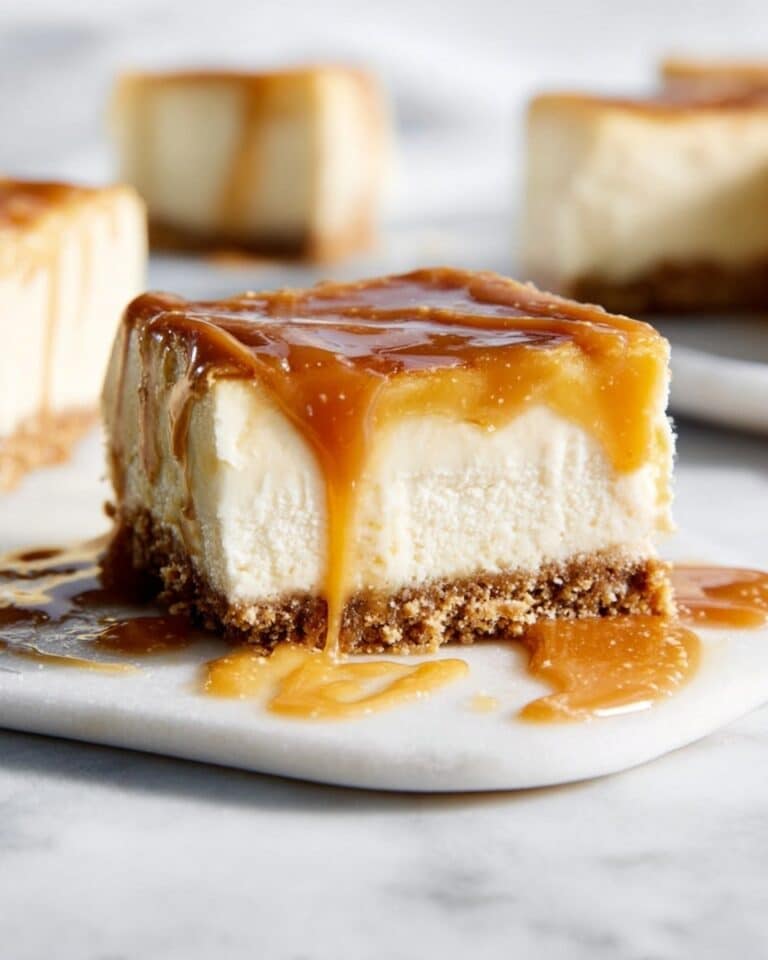
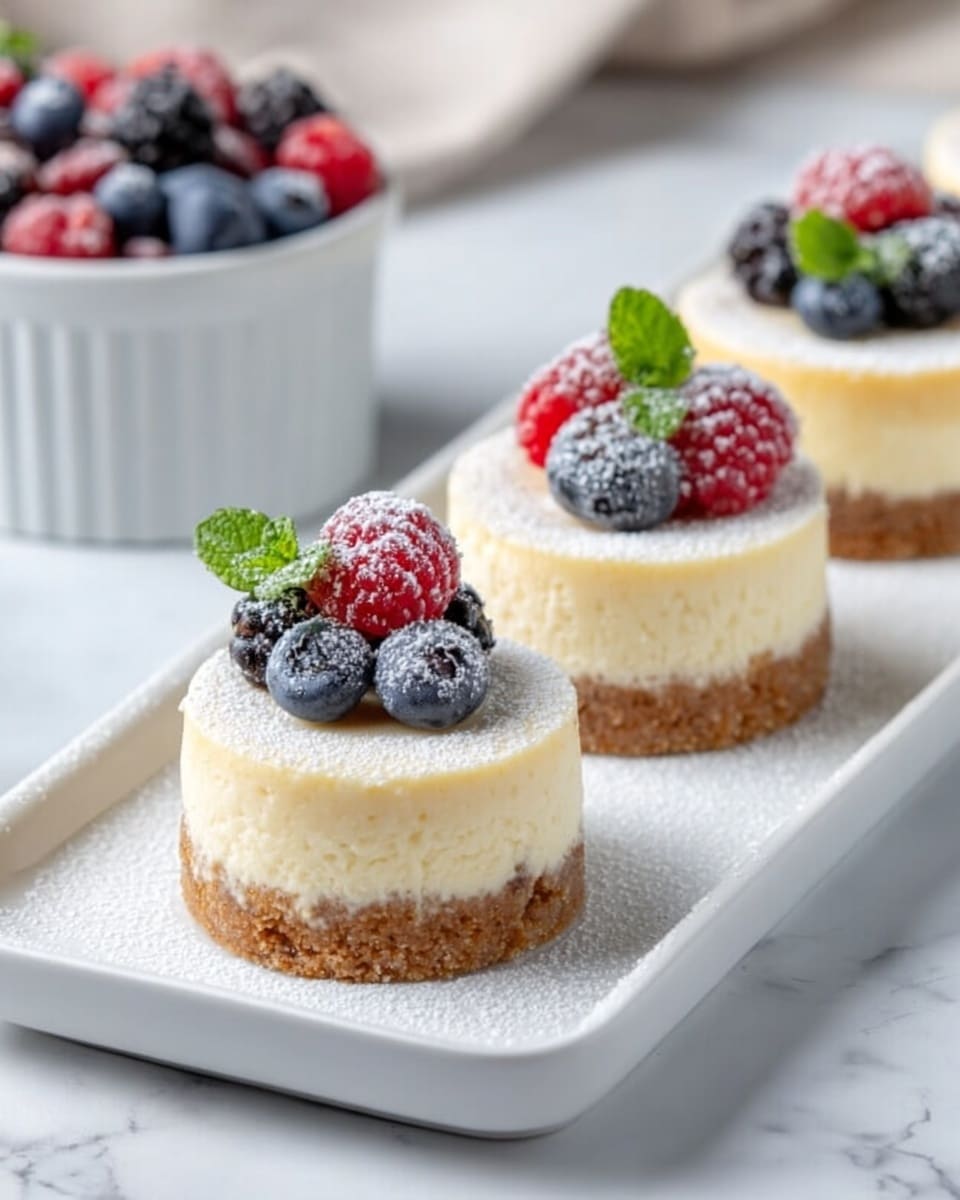
Mini Cheesecakes Recipe
If you are on the hunt for a delightful dessert that’s both charming and incredibly satisfying, this Mini Cheesecakes Recipe is exactly what you need. These little bites pack all the luscious creaminess of classic cheesecake in a perfectly portioned, handheld size. With a crumbly graham cracker crust and a silky smooth filling, they strike the perfect balance between sweet and tangy, making them a guaranteed crowd-pleaser for any gathering or cozy night in. Trust me, once you try this Mini Cheesecakes Recipe, you’ll want to make them again and again.
Ingredients You’ll Need
Each ingredient in this Mini Cheesecakes Recipe plays a crucial role, combining together to create a dessert that’s rich yet light, and full of flavor. From the buttery crust that adds a satisfying crunch to the creamy filling that melts in your mouth, these simple staples come together beautifully.
- Graham cracker crumbs: Provide a classic, slightly sweet and crunchy base for the cheesecakes.
- Granulated sugar: Sweetens both the crust and the filling just right without overpowering.
- Salted butter (melted): Binds the crust and adds a rich, buttery flavor essential for that perfect texture.
- Cream cheese (softened): The star of the filling, giving these mini cheesecakes their signature creamy, luscious texture.
- Sour cream: Adds a subtle tang and smoothness, balancing the sweetness.
- Vanilla extract: Enhances the cheesecake’s flavor with its warm, aromatic notes.
- Salt: A pinch to bring out the sweetness and deepen the overall flavor profile.
- Large eggs (lightly beaten): Bind the filling ingredients together, ensuring a silky, custard-like consistency.
How to Make Mini Cheesecakes Recipe
Step 1: Prepare the Crust
Start by preheating your oven to 325°F (160°C) and lining a 12-count muffin tin with paper liners. Combine graham cracker crumbs and 1 ½ tablespoons of sugar in a medium bowl, then stir in the melted butter until everything is moistened and clumps together. Portion about 2-3 teaspoons of this mixture into each liner and press down firmly using the bottom of a measuring cup or your fingers. This simple step ensures a perfectly packed crust that crisps as it bakes.
Step 2: Make the Cheesecake Filling
Using a stand mixer or electric hand mixer, beat the softened cream cheese on low speed until smooth and creamy—resist the urge to whip it, as we want a dense, luscious filling, not airy. Slowly add sugar and mix until combined. Then, blend in sour cream, vanilla extract, and salt, scraping down the bowl occasionally to avoid lumps. Finally, add eggs one at a time, mixing just until incorporated to retain that rich, custardy texture.
Step 3: Assemble and Bake
Divide the filling evenly among the muffin liners—using an ice cream scoop with a lever makes this mess-free and efficient. Pop the tray into the oven and bake for 17-20 minutes or until the edges are lightly golden and the centers have just set. Watch closely; overbaking will dull the silky texture you’re aiming for. Once out of the oven, let them cool completely to room temperature before carefully transferring them to the fridge to chill for 2-3 hours.
How to Serve Mini Cheesecakes Recipe
Garnishes
While these mini cheesecakes are delicious on their own, a little topping can elevate them to the next level. Consider dolloping freshly whipped cream, drizzling strawberry sauce or blueberry compote, or even a glossy chocolate ganache. Each garnish adds a burst of flavor and a pop of color, making them as pleasing to the eyes as they are to the palate.
Side Dishes
Complement your Mini Cheesecakes Recipe by serving alongside fresh berries or a scoop of vanilla bean ice cream. The fresh fruit brightens the richness, while the ice cream adds an extra creamy contrast. For a more indulgent spread, pair with a hot cup of coffee or a delicate glass of dessert wine.
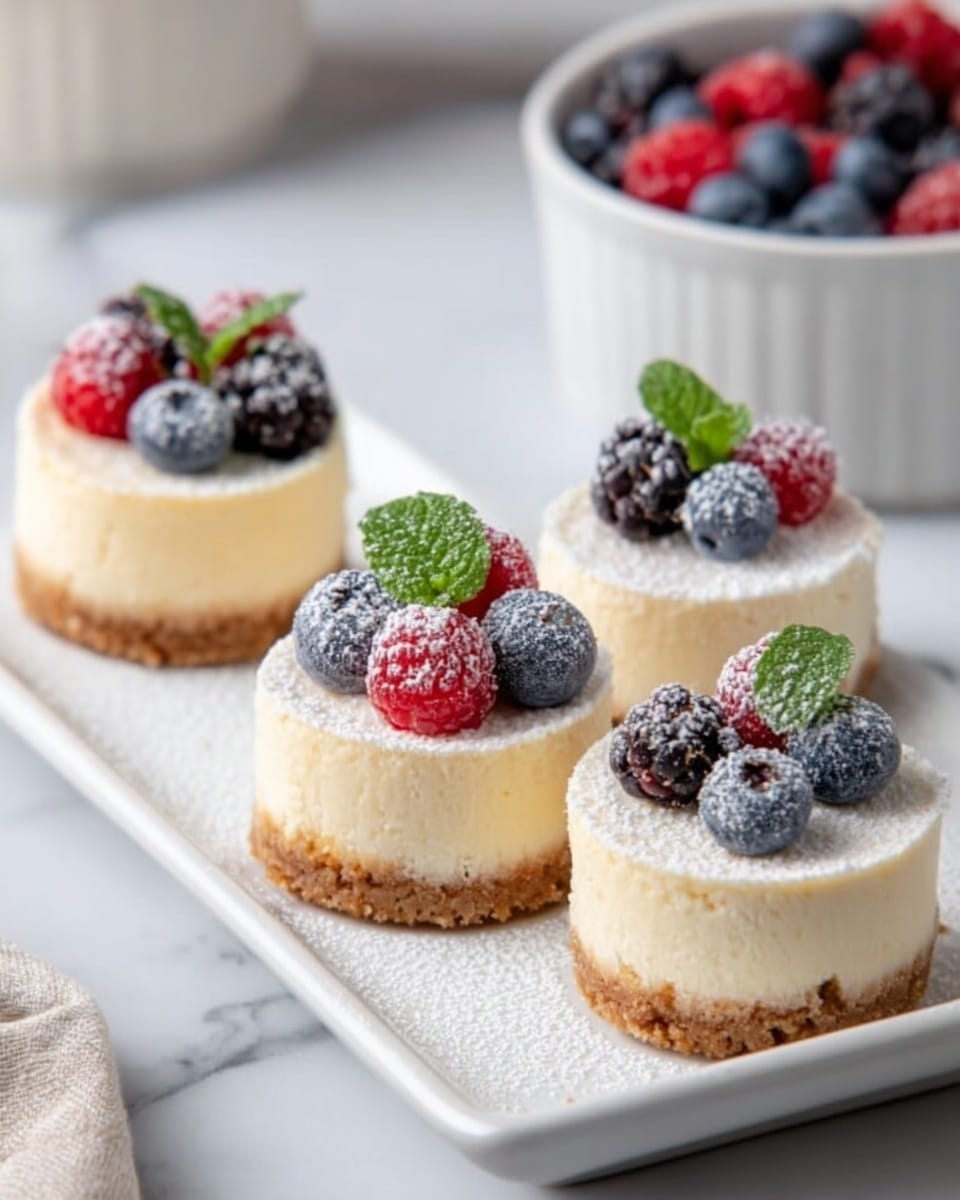
Creative Ways to Present
Think beyond the muffin tin—serve these cheesecakes on a rustic wooden board, each garnished with a small edible flower or a dusting of powdered sugar. Place them in mini glass jars for a charming grab-and-go dessert, or encase them in clear cupcake wrappers tied with a colorful ribbon for festive occasions. Presentation matters and with mini cheesecakes, the cuteness factor is already in your favor!
Make Ahead and Storage
Storing Leftovers
Leftover mini cheesecakes can be stored in an airtight container in the refrigerator for up to 4 days. Make sure they are completely chilled before sealing to keep their creamy texture intact and prevent any condensation from affecting the crust’s crispness.
Freezing
If you want to prepare in advance, these mini cheesecakes freeze beautifully. Place them on a baking sheet to freeze individually for a couple of hours, then transfer to a freezer-safe container or zip-top bag with parchment layers in between. They keep their flavor and texture for up to 2 months.
Reheating
When ready to enjoy, thaw frozen mini cheesecakes overnight in the fridge. There’s no need to reheat them—serve chilled for the best texture and flavor. If desired, let them sit at room temperature for 15-20 minutes before serving to soften just a touch.
FAQs
Can I use low-fat cream cheese for this Mini Cheesecakes Recipe?
While it’s possible, full-fat cream cheese yields the best texture and richness. Low-fat versions tend to create a less creamy and slightly grainy filling, so opt for full-fat when you want silkier results.
Do I need to let the cream cheese soften before mixing?
Yes, softening cream cheese is crucial for a smooth filling. If too cold, it won’t blend well and may leave lumps, but don’t overheat it or it will become too soft and watery.
Why shouldn’t I overbeat the batter?
Overbeating incorporates too much air, causing cracks while baking and a cakey texture instead of the dense, creamy consistency we want for these mini cheesecakes.
Can I use different types of crusts for this Mini Cheesecakes Recipe?
Absolutely! Feel free to experiment with chocolate cookie crumbs, nut-based crusts, or even shortbread crumbs for a different flavor profile that complements the creamy filling.
How long do mini cheesecakes need to chill?
Chilling for at least 2-3 hours is essential for the filling to fully set and develop its smooth texture, making it easier to remove from liners and enhancing the overall taste experience.
Final Thoughts
There’s something truly magical about mini desserts, and this Mini Cheesecakes Recipe hits all the right notes with its creamy filling, buttery crust, and perfectly portable size. Whether served at a party or enjoyed as a personal treat, these little cheesecakes are sure to bring smiles and requests for seconds. Go ahead and give this recipe a try—you’re going to love every bite as much as I do!
PrintMini Cheesecakes Recipe
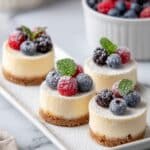
These Mini Cheesecakes feature a creamy, smooth filling atop a buttery graham cracker crust, baked to perfection in a convenient muffin tin. Perfectly portioned for 12 servings, they offer a delightful balance of sweet and tangy flavors with a rich, velvety texture. Ideal as an elegant dessert or a sweet treat for any occasion.
- Prep Time: 20 minutes
- Cook Time: 20 minutes
- Total Time: 3 hours 40 minutes
- Yield: 12 mini cheesecakes 1x
- Category: Dessert
- Method: Baking
- Cuisine: American
Ingredients
Crust
- ¾ cup graham cracker crumbs (85 g)
- 1 ½ Tablespoons granulated sugar
- 4 Tablespoons salted butter (melted)
Filling
- 16 oz softened cream cheese (455 g)
- ½ cup sugar (100 g)
- ½ cup sour cream (80 g)
- ¾ teaspoon vanilla extract
- ⅛ teaspoon salt
- 2 large eggs (lightly beaten, room temperature preferred)
Instructions
- Preheat Oven and Prepare Pan: Preheat your oven to 325°F (160°C) and line a 12-count muffin tin with paper liners. Set aside while you prepare the crust.
- Make the Crust Mixture: In a medium bowl, combine the graham cracker crumbs and granulated sugar. Add the melted butter and stir until the mixture is evenly moistened and fully combined.
- Form the Crust Base: Spoon about 2 to 3 teaspoons of the crust mixture into each paper liner in the muffin tin. Use a spoon or the bottom of a ¼ cup measuring cup to firmly press down and evenly pack the crumbs to form the crust. Set aside while you prepare the filling.
- Prepare the Cream Cheese: Place the softened cream cheese in the bowl of a stand mixer or a large bowl if using an electric mixer. Beat on low speed just until smooth and creamy, taking care not to whip or overbeat to avoid incorporating too much air.
- Add Sugar to Cream Cheese: Add the sugar to the cream cheese and mix again until well combined and smooth.
- Incorporate Sour Cream, Vanilla, and Salt: Add sour cream, vanilla extract, and salt to the mixture. Stir until all ingredients are well combined, occasionally scraping down the sides and bottom to remove lumps.
- Add Eggs Gradually: Slowly add the beaten eggs, one at a time, blending each until just incorporated. Keep the mixer on low speed and avoid overbeating. Scrape the sides and bottom of the bowl and mix once more on low speed to ensure even distribution.
- Portion the Batter: Evenly divide the cheesecake batter among the muffin liners using an ice cream scoop or spoon to maintain uniform sizes.
- Bake the Mini Cheesecakes: Place the muffin tin in the preheated oven and bake for 17-20 minutes, or until the edges begin to turn a very light golden brown and the centers are set. Do not overbake to avoid a dry, mealy texture.
- Cool and Chill: Remove the cheesecakes from the oven and allow them to cool completely at room temperature. Then gently remove each mini cheesecake from the tin and transfer to the refrigerator to chill thoroughly for 2-3 hours before serving.
- Optional Toppings: Serve with your choice of whipped cream, strawberry sauce, blueberry sauce, or chocolate ganache for added flavor and presentation.
Notes
- Use room temperature cream cheese and eggs for a smoother batter and better texture.
- Do not overbeat the batter to avoid incorporating too much air, which can cause cracks or a grainy texture.
- Be careful not to overbake; the centers should be set but not browned.
- Chilling the cheesecakes for at least 2 hours ensures proper setting and enhances flavor.
- Variations can include adding lemon zest to the filling or using different crust options like crushed cookies.
Keywords: mini cheesecakes, small cheesecakes, baked cheesecake, individual cheesecake, graham cracker crust