Peppermint Swirl Fudge Recipe
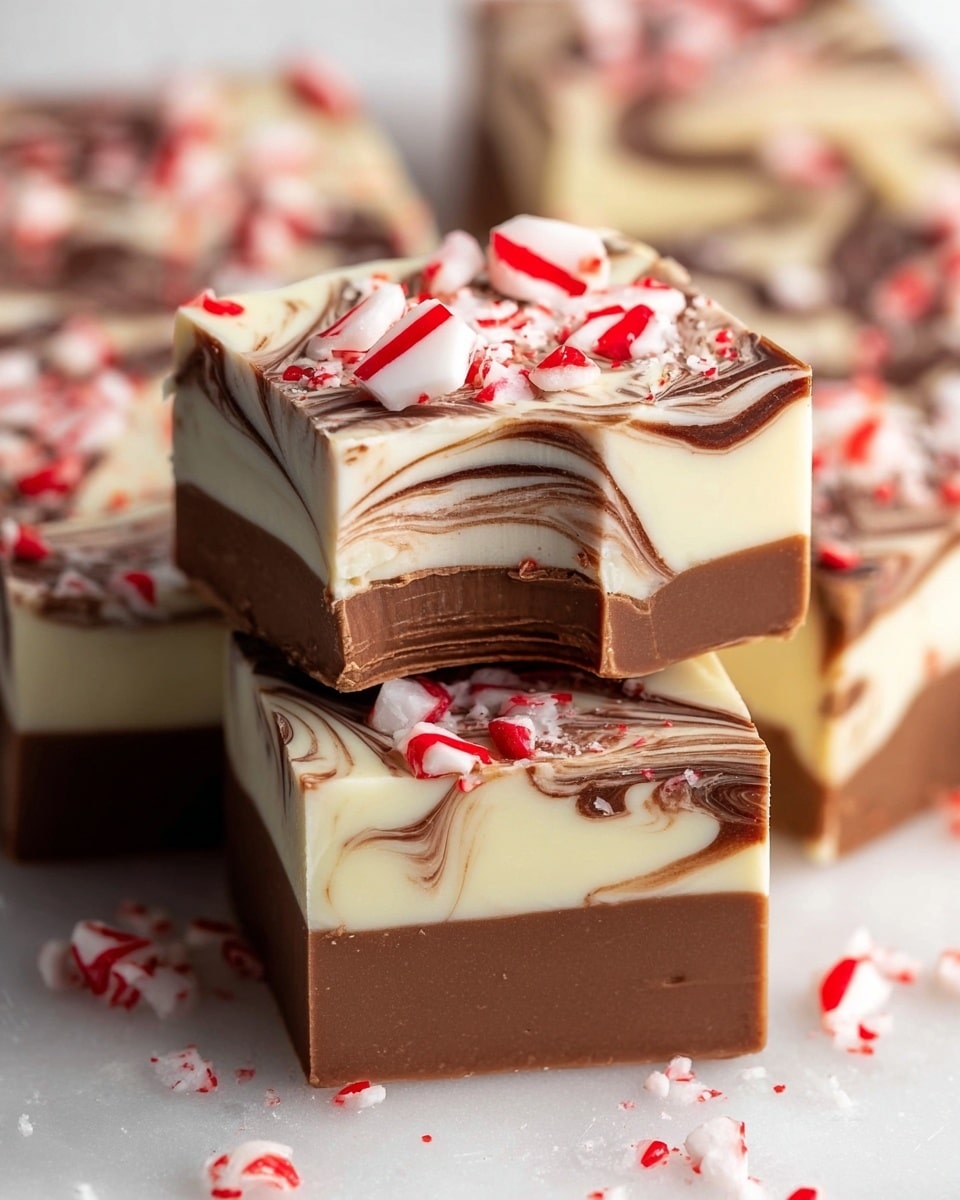
There is something utterly magical about a rich, creamy, and festive treat that combines the deep allure of chocolate with the bright, refreshing zing of peppermint. This Peppermint Swirl Fudge Recipe delivers on just that promise, wrapping your taste buds in layers of silky chocolate and vibrant peppermint swirls energized by crushed candy canes on top. Whether it’s for holiday gifting, a decadent party snack, or simply a way to brighten your day, this fudge feels like a cozy, flavorful hug that’s as fun to make as it is to devour.
Ingredients You’ll Need
Every ingredient in this recipe plays an essential role in creating that luscious texture and perfectly balanced flavor. Each component is simple but thoughtfully chosen to build layers of indulgence and visual appeal.
- Semi-sweet or dark chocolate chips: The foundation of our rich chocolate layer, providing deep cocoa flavor and smooth melting.
- Unsalted butter: Adds creaminess and helps the fudge achieve that melt-in-your-mouth texture without overpowering flavors.
- Sweetened condensed milk: The secret to a fudgy, luscious consistency, binding everything together with just the right sweetness.
- Peppermint extract: Infuses the fudge with that signature refreshing peppermint kick that dances beautifully with the chocolate.
- Pinch of salt: Enhances the chocolate flavors by bringing out their richness and balancing the sweetness.
- White chocolate chips: The base for the peppermint swirl layer, supplying creamy sweetness and a canvas for the festive swirl.
- Red gel food coloring: Gives the peppermint swirl its striking, holiday-ready pop of color without diluting the texture.
- Crushed peppermint candies or candy canes: Adds crunch, extra peppermint punch, and an irresistible festive topping.
- Parchment paper and nonstick spray: To line and prepare your pan for easy removal of the fudge once set.
How to Make Peppermint Swirl Fudge Recipe
Step 1: Prep the Pan
First things first, line an 8×8-inch square pan with parchment paper, leaving a nice overhang on two sides. This little hack is your secret weapon for effortlessly lifting the fudge out without breaking it. Don’t forget to lightly coat the paper with nonstick spray for the smoothest release.
Step 2: Make the Chocolate Fudge Base
In a heatproof bowl, combine your chocolate chips, a tablespoon of unsalted butter, and the sweetened condensed milk at room temperature. Set this bowl over a simmering pot of water and stir constantly until it transforms into a glossy, velvety melt. As soon as it’s smooth, stir in the peppermint extract and a pinch of salt. This step is where the magic begins—the chocolate base develops richness and that cozy peppermint aroma we all love.
Step 3: Make the Peppermint Swirl Layer
Next, you’ll create the signature peppermint swirl. In another heatproof bowl, repeat the melting trick with white chocolate chips, butter, and condensed milk. Once silky smooth, stir in peppermint extract with a couple of drops of red gel food coloring. Be gentle when mixing so the red color creates pretty streaks rather than blending in completely—that’s what gives your fudge that stunning swirl effect.
Step 4: Layer and Swirl
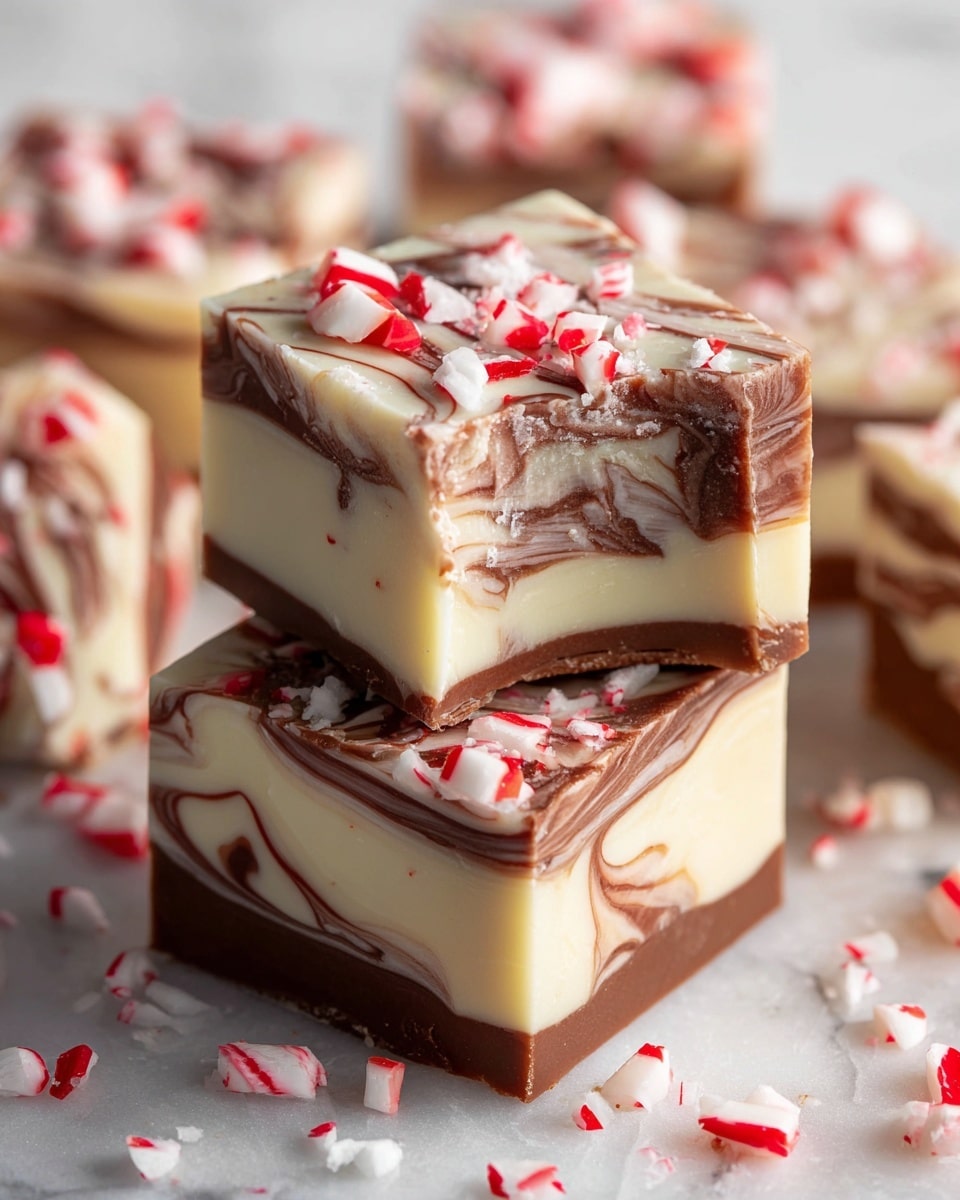
Pour about three-quarters of your rich chocolate fudge mixture evenly into the prepared pan. Then drop spoonfuls of the festive red peppermint mixture across the surface. Add the remaining chocolate fudge in the empty spaces. Now for the fun part—grab a knife or skewer and gently swirl the two layers using figure-eight motions. The goal is to combine just enough to show those glorious swirls without blending into one solid color. This technique creates a marbled, eye-catching pattern that screams holiday elegance.
Step 5: Add the Topping
Sprinkle the crushed peppermint candies evenly over the top while the fudge is still soft. Press them down gently so they stick well, lending each bite a little crunch and an extra burst of peppermint flavor. This final touch not only adds delicious texture but makes your fudge visually festive and inviting.
Step 6: Chill and Set
Transfer your pan to the refrigerator and let it chill for at least three hours—this is the hard part, waiting! Once your fudge is fully set and firm to the touch, use the parchment paper overhang to lift it out of the pan. Slice into 25 squares with a sharp knife and prepare to impress anyone lucky enough to get a piece.
How to Serve Peppermint Swirl Fudge Recipe
Garnishes
While the crushed peppermint topping is classic, you can elevate your presentation by adding a light dusting of powdered sugar or edible glitter for sparkle. For an adult twist, drizzle a little melted dark chocolate on top or sprinkle a few mini chocolate chips across the pieces. These little flourishes make your fudge look even more indulgent and irresistibly gift-worthy.
Side Dishes
Peppermint swirl fudge pairs beautifully with warm drinks like a cup of hot cocoa, peppermint tea, or even a rich espresso. The richness of the fudge balances perfectly with warm, comforting sips, creating a delightful taste harmony. Serving it alongside a cheese board with mild cheeses and nuts can be a surprisingly fun way to mix sweet and savory flavors.
Creative Ways to Present
If you’re gifting this fudge or hosting a party, consider wrapping individual squares in clear cellophane tied with ribbons for a charming treat presentation. Arrange the pieces neatly on a decorative platter lined with festive napkins for a show-stopping dessert table centerpiece. You could even layer fudge pieces in a mason jar with sprigs of fresh mint tucked inside for a rustic, pretty gift idea that’s sure to excite.
Make Ahead and Storage
Storing Leftovers
If you find yourself with extra fudge (though it’s unlikely to last long!), store leftovers in an airtight container at room temperature or in the fridge. It stays fresh for about 1 to 2 weeks and keeps that perfect fudge consistency without drying out.
Freezing
Peppermint Swirl Fudge Recipe freezes beautifully. For long-term storage, wrap the fudge tightly in plastic wrap and place it inside a freezer-safe container. When wrapped well, the fudge can keep for up to 3 months. Thaw it overnight in the fridge before serving to maintain its silky texture.
Reheating
Generally, fudge is best enjoyed cold or at room temperature. If you prefer a slightly softer bite, leave it out on the counter for 15–20 minutes. Reheating in the microwave is not recommended, as it can alter the texture and cause the peppermint or chocolate to separate.
FAQs
Can I use milk chocolate instead of dark or semi-sweet chocolate?
Absolutely! Milk chocolate will give you a sweeter, creamier base, but keep in mind the flavor profile and richness will be lighter compared to semi-sweet or dark chocolate. It’s all about your personal preference and sweetness level.
Is it necessary to use real white chocolate chips for the peppermint swirl layer?
Yes, real white chocolate chips produce a smoother, creamier texture and more authentic flavor. Almond bark or candy melts can be too waxy and may affect the fudge’s silky consistency.
How can I get the perfect peppermint swirl look every time?
The key is gentle swirling! Don’t overmix the red peppermint layer into the chocolate base—use a light hand with your knife or skewer and create figure-eight patterns. This keeps the distinct swirls vibrant and appealing.
Can I make this recipe dairy-free?
While this recipe relies on dairy-rich ingredients for texture and flavor, you could experiment with dairy-free chocolate chips and sweetened condensed coconut milk. The texture might vary, but it’s definitely worth trying for dietary needs.
What’s the best way to crush peppermint candies for topping?
Place the candies in a sealed plastic bag and gently crush using a rolling pin or the bottom of a heavy pan. This helps make evenly sized pieces, perfect for sprinkling without turning into dust.
Final Thoughts
I cannot recommend this Peppermint Swirl Fudge Recipe enough if you’re looking for a festive, crowd-pleasing treat that combines easy prep with knockout flavor and presentation. Every bite is a joyful celebration of creamy chocolate and bright peppermint, perfect for sharing with friends, family, or keeping all to yourself (no judgment here!). Give it a try—you might just find a new holiday or anytime favorite that you’ll return to year after year.
PrintPeppermint Swirl Fudge Recipe

This Peppermint Swirl Fudge recipe features rich semi-sweet and white chocolate layers infused with peppermint extract and visually stunning red swirls. Topped with crushed peppermint candies, this easy no-bake fudge is perfect for holiday gifting or festive dessert tables, delivering creamy, minty, and decadent flavors in every bite.
- Prep Time: 15 minutes
- Cook Time: 15 minutes
- Total Time: 3 hours 30 minutes
- Yield: 25 servings 1x
- Category: Dessert
- Method: No-Cook
- Cuisine: American
Ingredients
Chocolate Layer
- 2 cups semi-sweet or dark chocolate chips
- 1 tablespoon unsalted butter
- 1 (14 oz) can sweetened condensed milk, room temperature
- ½ teaspoon peppermint extract
- Pinch of salt
Peppermint Swirl Layer
- 1 ½ cups white chocolate chips (use real white chocolate, not almond bark)
- ½ tablespoon unsalted butter
- ⅓ cup sweetened condensed milk, room temperature
- ½ teaspoon peppermint extract
- 1–2 drops red gel food coloring
Topping
- ½ cup crushed peppermint candies or candy canes
Instructions
- Prep the Pan: Line an 8×8-inch square pan with parchment paper, leaving an overhang on two sides for easy fudge removal. Lightly coat the parchment with nonstick spray and place the pan on a flat surface.
- Make the Chocolate Fudge Base: In a heatproof bowl, combine the semi-sweet or dark chocolate chips, butter, and room temperature sweetened condensed milk. Set the bowl over a pot of simmering water (double boiler) and stir constantly until the mixture is completely melted and smooth. Remove from heat, then stir in the peppermint extract and a pinch of salt.
- Make the Peppermint Swirl Layer: In a separate heatproof bowl, combine the white chocolate chips, butter, and sweetened condensed milk. Melt gently over a double boiler, stirring continuously until smooth and fully melted. Remove from heat, then mix in the peppermint extract and red gel food coloring drops. Swirl gently with a spoon to create streaks without fully blending the color.
- Layer and Swirl: Pour about three-quarters of the chocolate fudge base into the prepared pan and spread evenly. Drop spoonfuls of the red peppermint swirl mixture on top, filling the gaps with the remaining chocolate mixture. Use a knife or skewer to gently swirl the two mixtures, creating figure-eight patterns without overmixing.
- Add the Topping: Evenly sprinkle the crushed peppermint candies over the top of the swirled fudge. Press gently so they adhere to the surface.
- Chill and Set: Refrigerate the pan for at least 3 hours or until the fudge is fully set and firm. Once set, use the parchment overhang to lift the fudge from the pan and cut it into 25 squares with a sharp knife.
Notes
- Use good quality real white chocolate chips for the peppermint swirl layer for best results; almond bark does not melt as smoothly.
- The double boiler method ensures gentle melting and prevents chocolate from burning.
- Room temperature sweetened condensed milk is important to ensure smooth melting and proper texture.
- You can substitute crushed candy canes with peppermint-flavored hard candies crushed finely.
- Store fudge in an airtight container in the refrigerator for up to 2 weeks.
- Allow fudge to come to room temperature for a few minutes before serving for the best texture.
Keywords: peppermint fudge, holiday fudge, peppermint swirl, white chocolate fudge, no-bake fudge, Christmas fudge, peppermint candy fudge